Mr. Patchbay
Patchbay FAQ
QUESTION:
Can I run my digital audio AES/EBU signal through my analog patchbay?
ANSWER
You sure can. Remember your AES/EBU signal can travel a total length of 300 feet. According to ADC , if you run your digital signal though your analog patchbay, you just used 100 of your three-hundred feet.
QUESTION:
Can I run my digital audio and analog audio through my analog patchbay?
ANSWER
You sure can. However, you will need to leave around four patchbay channels unused between the digital signals and the analog signals to prevent cross-talk from the digital signals that would well... bother you.
QUESTION:
Can I run my phantom-powered microphone signal through my patchbay?
ANSWER
You sure can. However, if you use a large format console with one-button that turns on the phantom power for all channels you will need to strap the grounds together on the patchbay channels you want to phantom-power. When patching microphones through a patchbay that are being supplied phantom power from a mixing board, patching a mic can damage the console or mic if the grounds are not strapped on the Patchbay! As the patch cable plug is inserted into the Patchbay, the tip of the plug will momentarily connect with the ring contact in the socket, while the ring of the plug touches the sleeve contact. This short-circuits the phantom power supply by bridging the +48V line straight to the ground and, although most phantom power supplies can handle it, the resulting voltage spike can cause great damage to the input preamp(s) of your audio desk or high-end mic Pre's. The pre-amp input stage can be damaged right off the bat (particularly with older types of electronically balanced inputs) but, it is more normal to find a gradual degradation in performance as various circuit components deteriorate. Strapping the grounds on your patchbay prevents this from happening to your gear. Plus strapping the grounds is easy to do( just ask me and I can do this for you!). On solder-type patchbays just add a copper wire across all ground points to make them one common ground. Strapping grounds on a punch-down style patchbay is even easier. Just punch wire(s) over your existing wire(s) to connect all grounds together.
If you work with stand alone mic pre's, each with it's own phantom power, then after you make the patch, then turn your phantom.
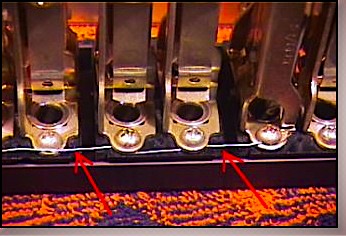
Another EASY way to strap the grounds together on the channels you want to phantom-power is shown below. Use the screws that hold the jacks in place to run your ground wire from channel to channel.
Normals
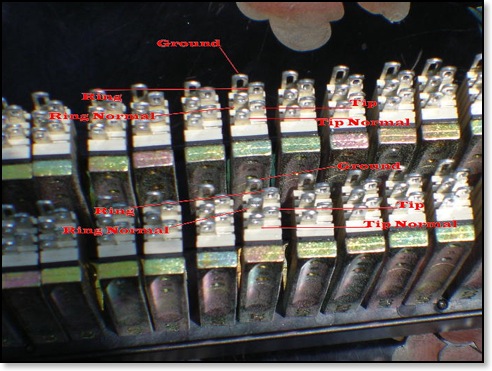
No Normals - Straight Thru is when the top-row of patch points (jacks) is not connected to the bottom-row patch points. Each patch point stays independent and isolated from other channels.
Full-Normal : Each patch point on the top-row is connected to the patch point under it on the bottom-row. This allows the audio or video signal to “pass-through” the patchbay without using a patch cable. When we want to change the “normal” signal path we can use a patch cable to change the destination of the signal. Placing a patch cable into the either row breaks the signal path. The signal follows the patch cable to where it is patched.
Half-Normal: Each patch point on the top-row is connected to the patch point under it on the bottom-row. This allows the audio or video signal to “pass-through” the patchbay without using a patch cable. When we want to change the “normal” signal path we can use a patch cable to change the destination of the signal. Placing a patch cable into the bottom-row breaks the signal path. Placing a patch cable into the top-row allows the signal to still go to the jack under it on the bottom-row (without breaking the normal) and also follows the patch cable.
How to Make your Own Patchbay Lables
These days another great method for making your patchbay labels is to get a Label Maker. You can pick up a good Label Maker for under $40.00 and there are some offered for under $20.00. Many Label Makers now use thermal printing and with the many different color combos offered you can really make some great labels for your patchbay. If you are working with a single-space 96 point patchbay you will want to get a Label Maker that prints very thin labels.
First remove your stock label holders and set them aside. Now go to you local Fedex Kinko's or any good Office Supply in your area and get 1 sheet of 10-pound Glossy-White that is 17" long. This will cost you $.58 Then return home. Now mark or print the channels how you want to match your patchbay.
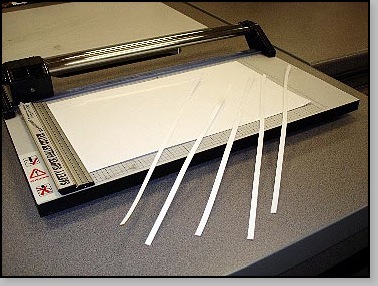
Then return to Kinko's and cut your printed paper into labels using the Kinko's free paper-cutter.
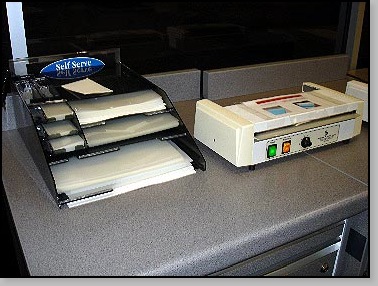
You will find Fedex Kinko's has a "self-serve" laminating machine. A sheet of plastic and the use of the machine will cost you $4.00.
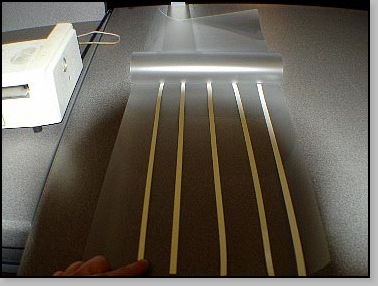
Now take one of the long sheets of plastic and open it up and place your newly cut labels on the plastic. Take a moment to make sure your labels are lying without bends or curves. Now close the plastic.
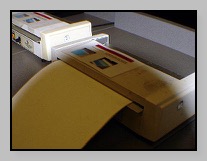
Enclose your sheet of plastic within one of the thick white paper covers found with the laminating supplies next to the Kinko's "self-serve" laminating machine. Now feed your white sheet through the laminating machine.
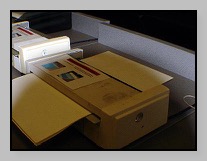
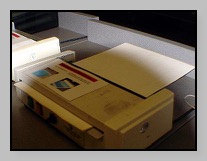
Almost done! Now return to the free paper cutter and cut your new labels from the sheet containing the labels. Last but not least, return home and glue or using double-sided tape attach you labels to your new patchbay. Cool eh?
